
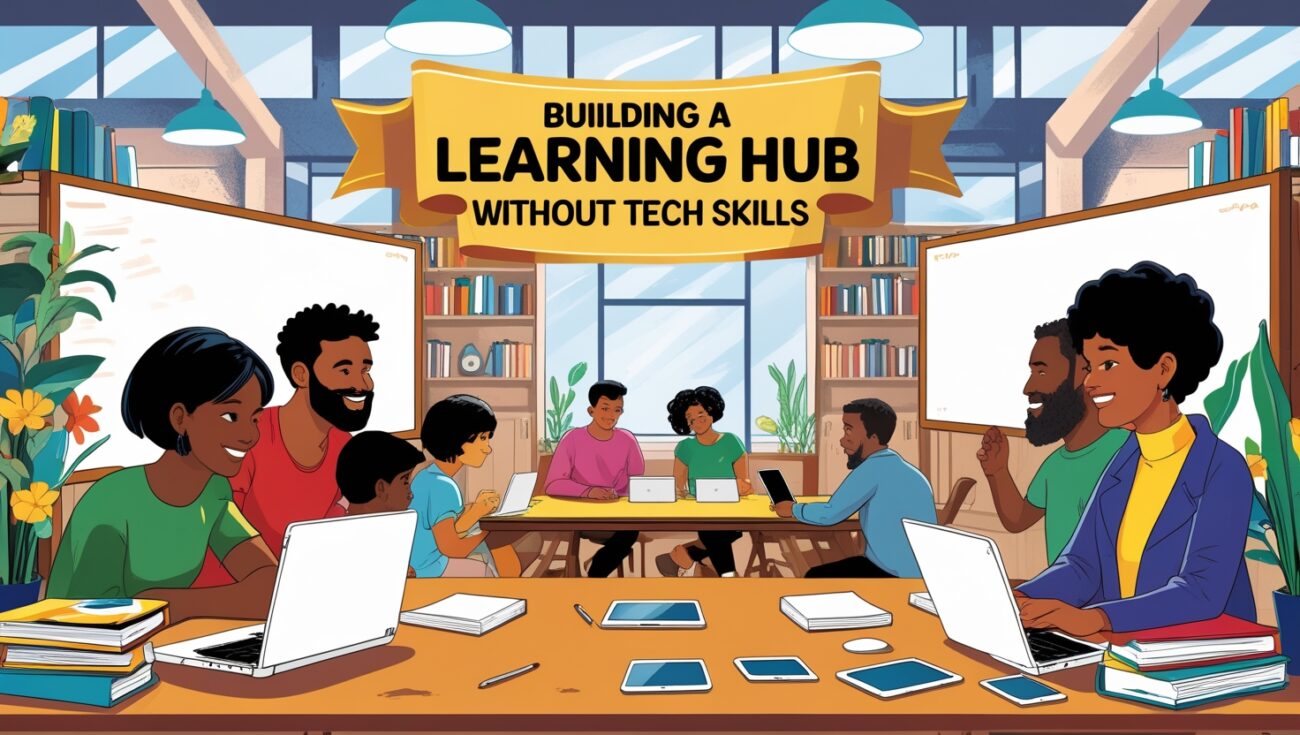
How to Build a Learning Hub Without Tech Skills
When I first wanted to build a learning hub for my students, I was completely overwhelmed. I thought I needed to hire a developer, spend thousands of dollars, and learn complicated software just to make it work.
The truth is, you don’t need any of that. You can build a professional, organized learning hub without tech skills — and I’m going to show you exactly how I did it.

Table of Contents
Why a Learning Hub Is So Valuable
A learning hub is the central place where your students or customers can access all of your content, resources, and community. It makes their experience seamless and helps them stay engaged.
Instead of sending people multiple emails and links, you can host everything in one clean space. This keeps your audience focused and makes you look more professional.
The Old Way Was Too Complicated
In the past, building a learning hub meant buying a custom website or piecing together multiple tools. You had to figure out WordPress, plugins, and integrations.
That’s exactly why so many people avoid it — it’s just too much work.
The New Way: Skool
I finally discovered Skool, and it changed everything.
Skool is an all-in-one platform that lets you:
- Host your lessons and resources in a clean classroom
- Build a community feed where members can interact
- Add a calendar for live events and calls
- Charge monthly or yearly using built-in Stripe payments
If you want to build your learning hub fast, sign up for Skool here: click this link to start now.
How I Built My Learning Hub in One Day
- Signed up for Skool
- Named my group and added a welcome message
- Uploaded my first set of lessons into the classroom
- Created a few discussion posts in the community feed
- Set my price and connected Stripe for payments
- Invited my first members
I didn’t need a developer, and I didn’t spend weeks trying to figure it out.
Why This Works for Non-Techy People
If you’re like me and you don’t want to deal with code, plugins, or complicated integrations, Skool is a lifesaver. Everything is drag-and-drop simple, and you can launch your learning hub in under an hour.
Your students will thank you too. They don’t want to log into five different platforms just to access your content.

Keep It Simple
You don’t need a massive course library or a huge community to get started. One or two valuable resources and a place for people to connect is enough to launch.
As your hub grows, you can add more lessons, events, and features over time.
Final Thoughts
Building a learning hub used to be complicated and expensive, but now it’s easy.
Here’s what I recommend you do today:
- Sign up for Skool here
- Create your group and upload your first resource
- Invite your first 5–10 members this week
You’ll be amazed at how professional your learning hub will look — even without tech skills.
When I first started, I thought building a learning hub would require hiring a developer or spending months learning how to use complicated software. That assumption held me back for far too long. But once I discovered Skool, I realized it’s possible to launch a full learning hub in less than a day — even if you’re not tech-savvy.
One of the best parts about Skool is how it makes everything so organized and professional. Your students can log in, easily find the classroom section for lessons, interact in the community feed, and check the calendar for upcoming events. That structure makes them more engaged and helps them get better results.
If you’re ready to launch your hub fast, sign up for Skool here: click this link to start your group now. You can set it up in less than an hour.
I also love how Skool handles payments and access automatically. With traditional setups, you have to connect payment processors, add plugins, and manually remove members when payments fail. With Skool, Stripe is built in, and everything runs on autopilot.
Another big advantage is that your learning hub grows with you. Whether you have five members or five hundred, the platform can handle it. You won’t need to rebuild or migrate your hub later as your business scales.
If you’re worried about content, remember that you don’t need a huge library to launch. I started with one short course and a few key resources. As more members joined, I added additional lessons and live coaching calls. That’s all it takes to build momentum.
Another tip is to invite your warm audience first. Reach out to existing followers, past clients, or people who have shown interest in your content. Offer them a founding member price to join your new hub. They’ll give you valuable feedback and help you refine your content.
Here’s what I suggest you do today:
- Sign up for Skool here
- Name your hub and write a short welcome message
- Upload one valuable resource or lesson to start
- Personally invite at least 5–10 people who would benefit
Once those first members join, you’ll see the energy shift. Conversations will start, students will engage with the lessons, and your hub will come alive.
Another thing I love about Skool is that it’s distraction-free. I used to host learning hubs through Facebook Groups, but members were constantly getting pulled away by notifications and ads. Skool keeps the focus on learning and community, which leads to better results.
Finally, don’t wait until you feel “ready.” The best way to learn how to build a learning hub is by doing it. Start small, launch fast, and improve as you go. You’ll be amazed at how quickly it grows once you take the first step.
Click here to sign up for Skool now: create your learning hub today. You’ll save time, avoid tech headaches, and have a professional space for your students by the end of the week.